

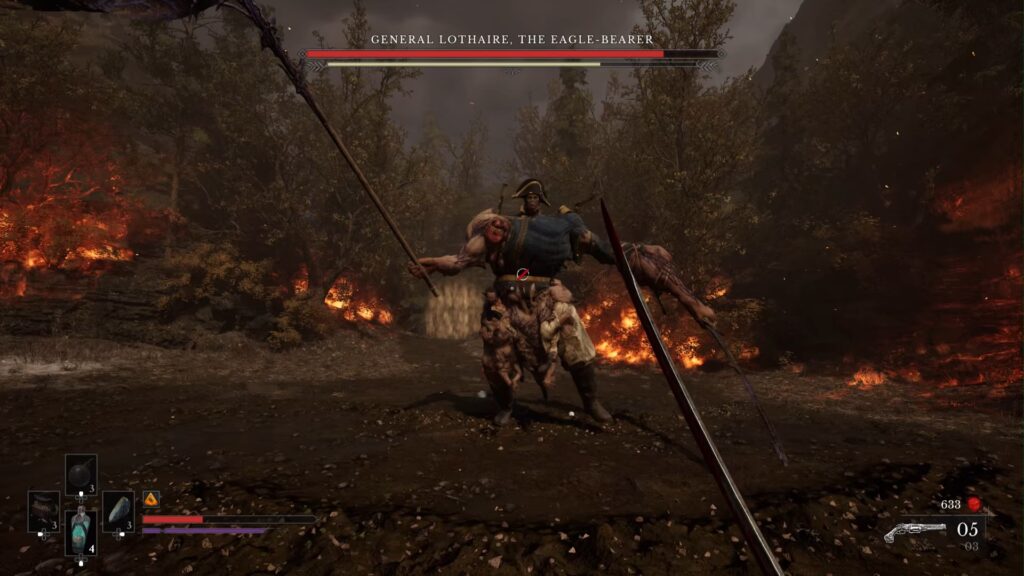

General Lothaire is the first boss of Valor Mortis, and he can be a major roadblock for many players. In fact, I died more times to this boss than to any other in the game. Mostly, this is due to the fact that when you encounter him, you have limited supplies and no options to upgrade your weapons. The boss can be quite difficult to beat without the Ferrofluid upgrades and the best early-game Amber. In this guide, I will cover the locations of the Ferrofluid upgrades and the Duellist’s Focus Amber, alongside the best strategies and skills to level up for maximum survivability.
Ferrofluid Upgrades
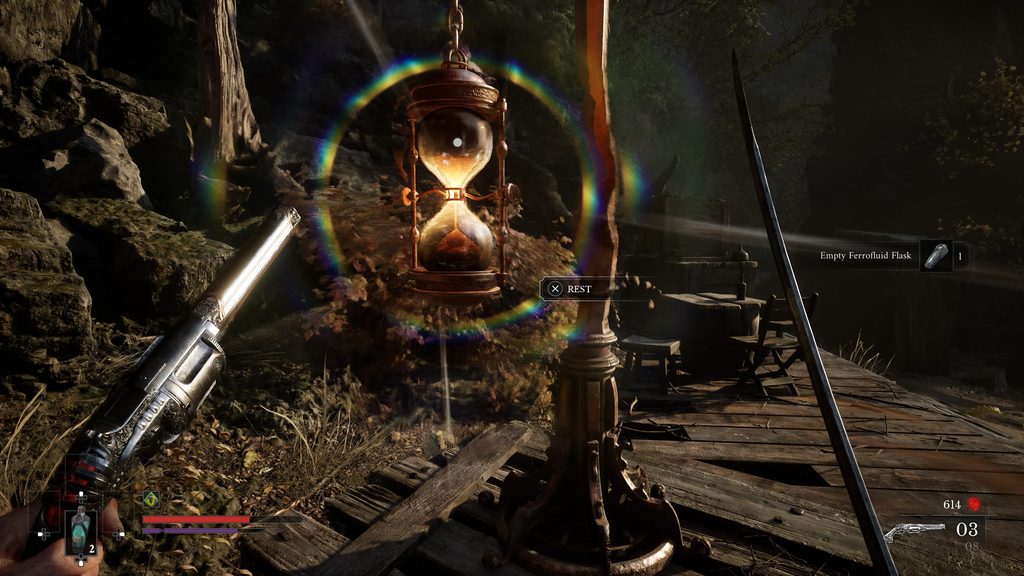
First, let’s cover where to find the Ferrofluid upgrades. There are two types of Ferrofluid upgrades: Quantity and Power, which increase your maximum healing charges and the amount of health recovered per use, respectively. Before fighting General Lothaire, only one upgrade of each type is accessible. Since fast travel only unlocks after defeating him, you will need to do some backtracking—simply sprint past the enemies, follow the pathing below, and grab the upgrades.
- Ferrofluid Flask Power Upgrade
- Location: Valley of the Ashes
- Lantern: Guide Post
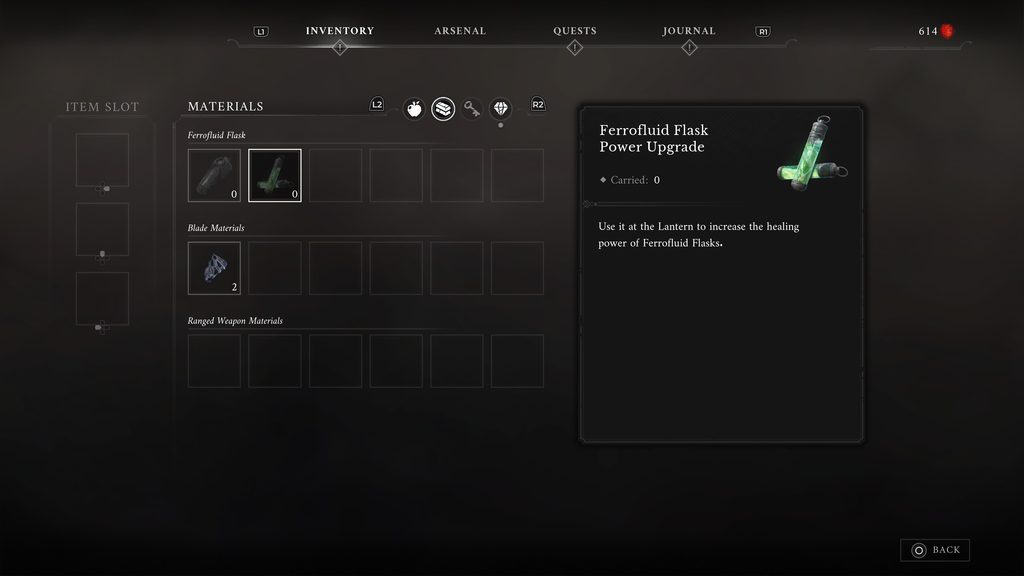
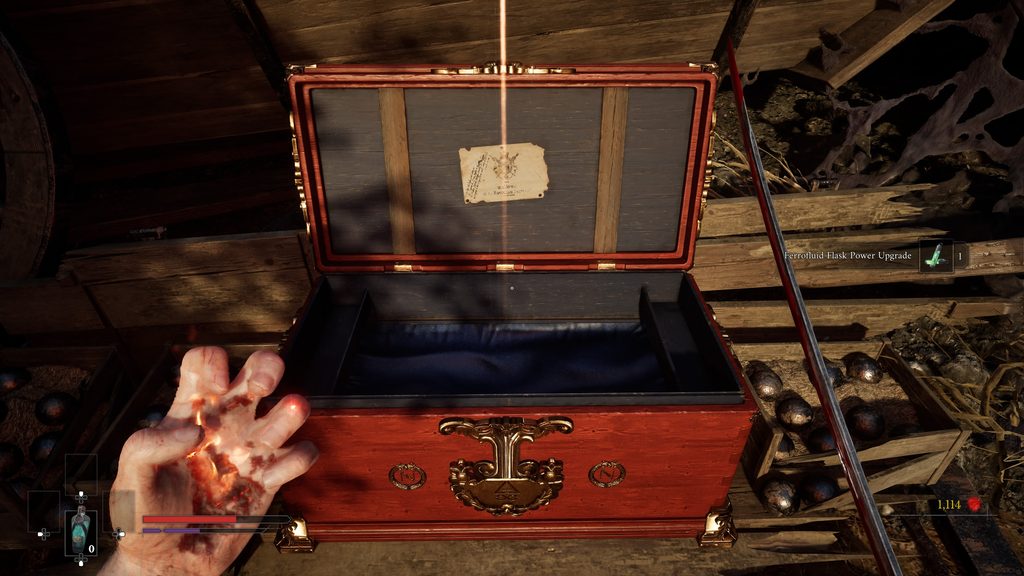
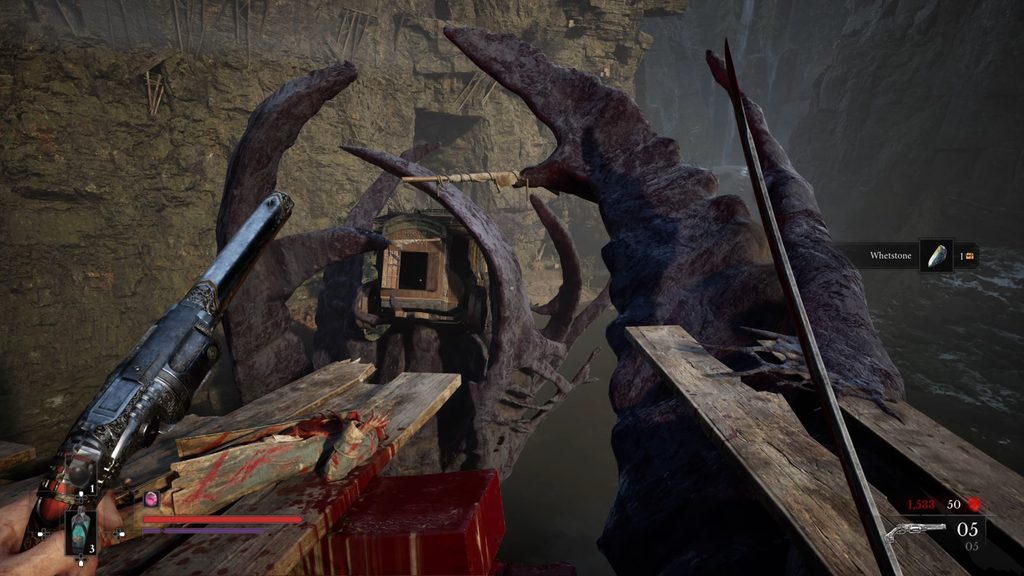
The Power Upgrade is found near the initial ‘Valley of the Ashes’ Lantern Guidepost. Follow the main path until you reach a cliffside featuring a wooden platform with a hanging train wagon on the right. Head to the left side of the platform, smash through the crates, eliminate the guarding enemy, and pick up the Ferrofluid Flask Power Upgrade.
- Ferrofluid Quantity Upgrade
- Location: Valley of the Ashes
- Lantern: The Climb
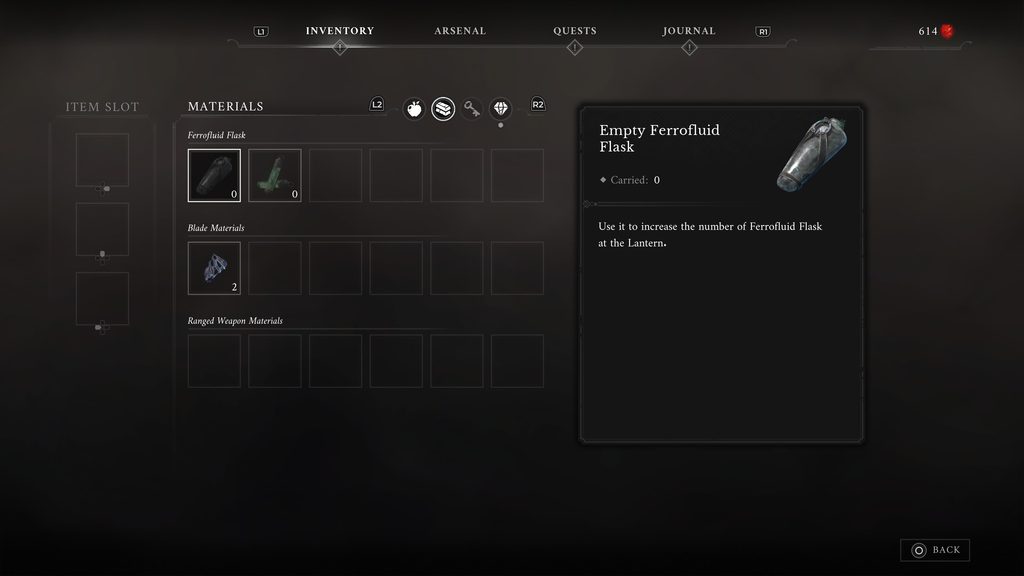
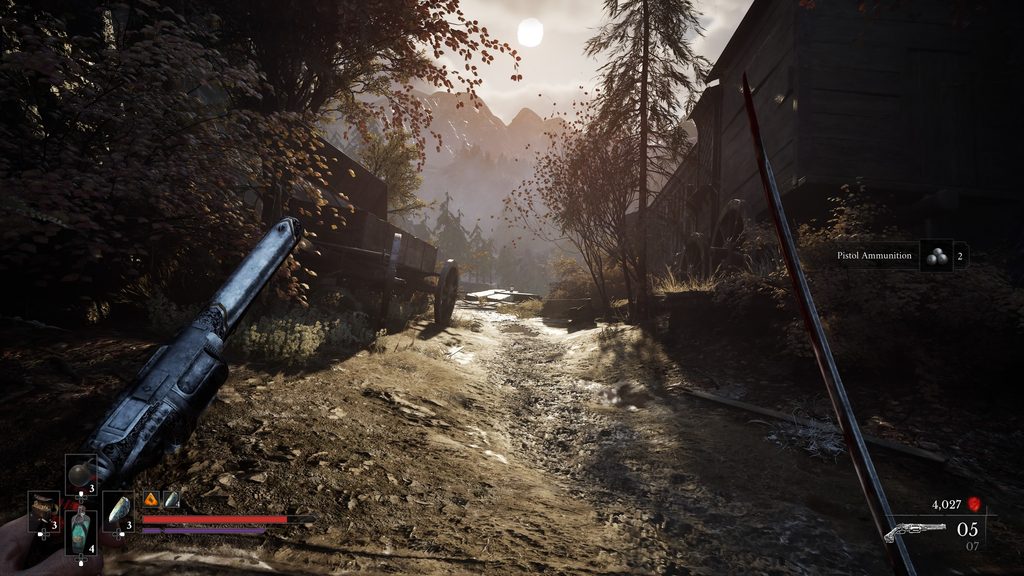
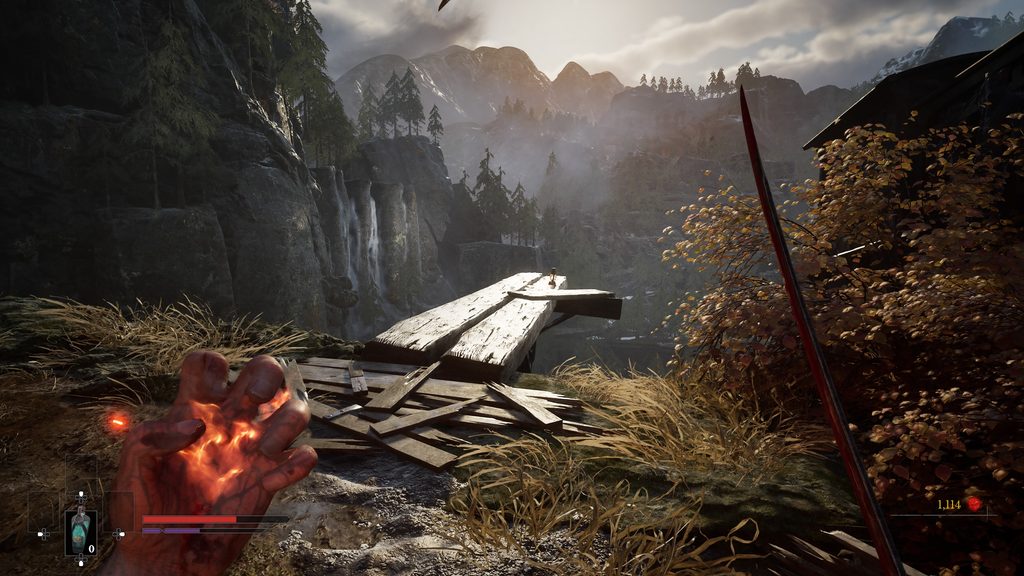
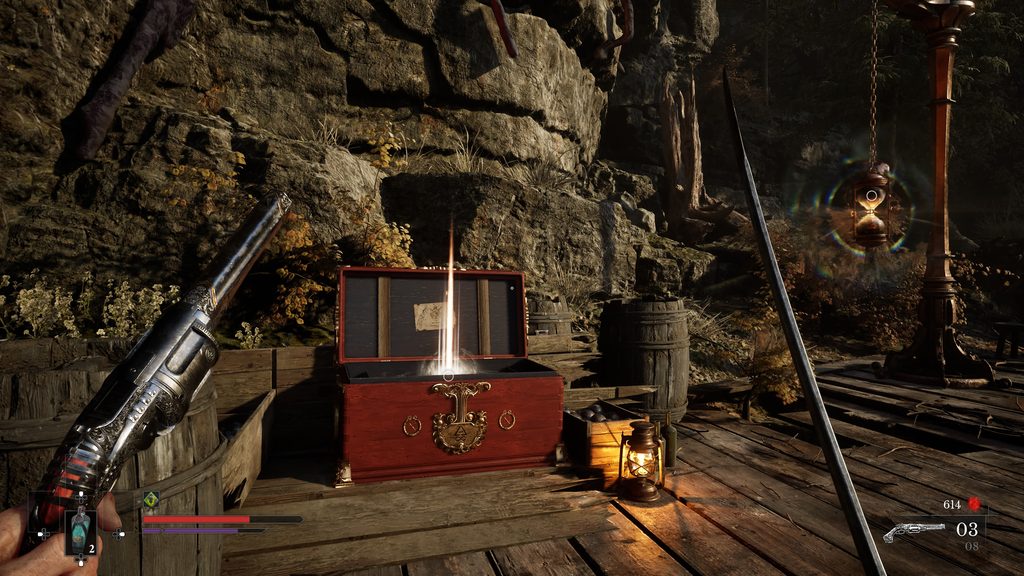
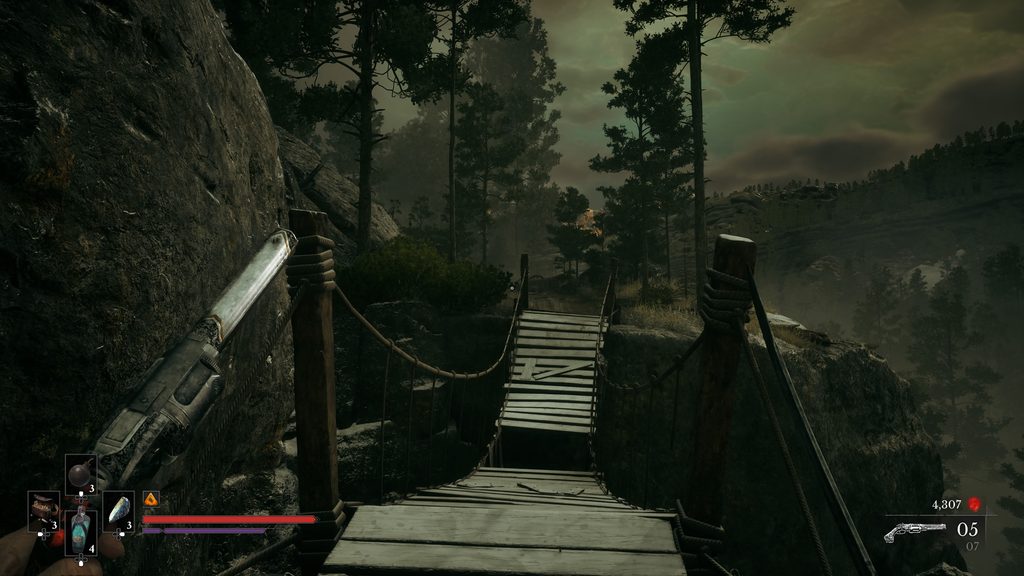
This upgrade is nearly impossible to miss, located in a chest right beside the third Lantern in the Valley of the Ashes. You can reach this location upon completing the broken bridge platforming section starting from the ‘Demolished Path’ Lantern, where you acquire the Pistol. The Empty Ferrofluid Flask is inside the chest situated to the left of the Lantern.
The Duellist’s Focus Amber
- Location: Battlefield
- Lantern: Onslaught Arch
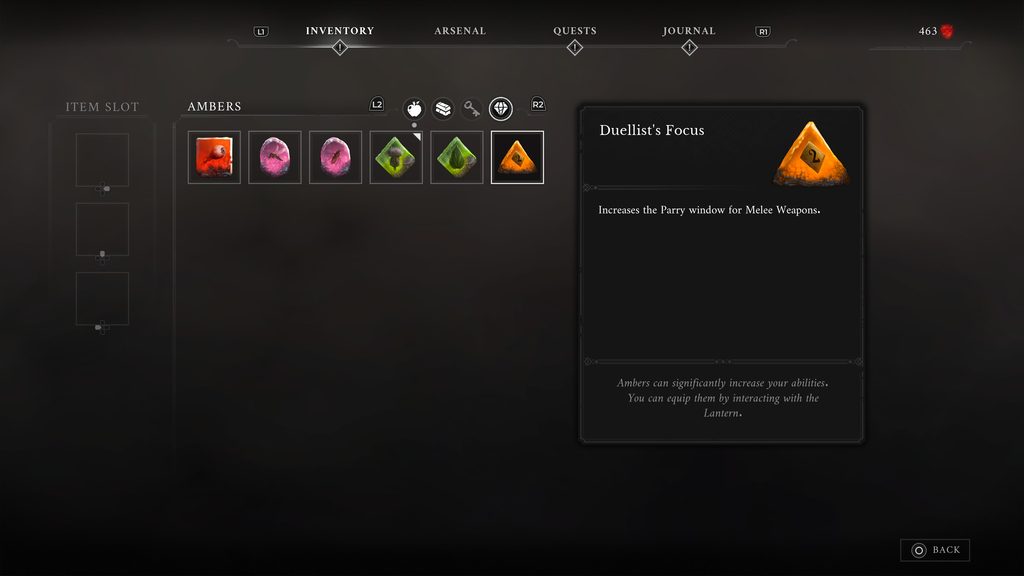
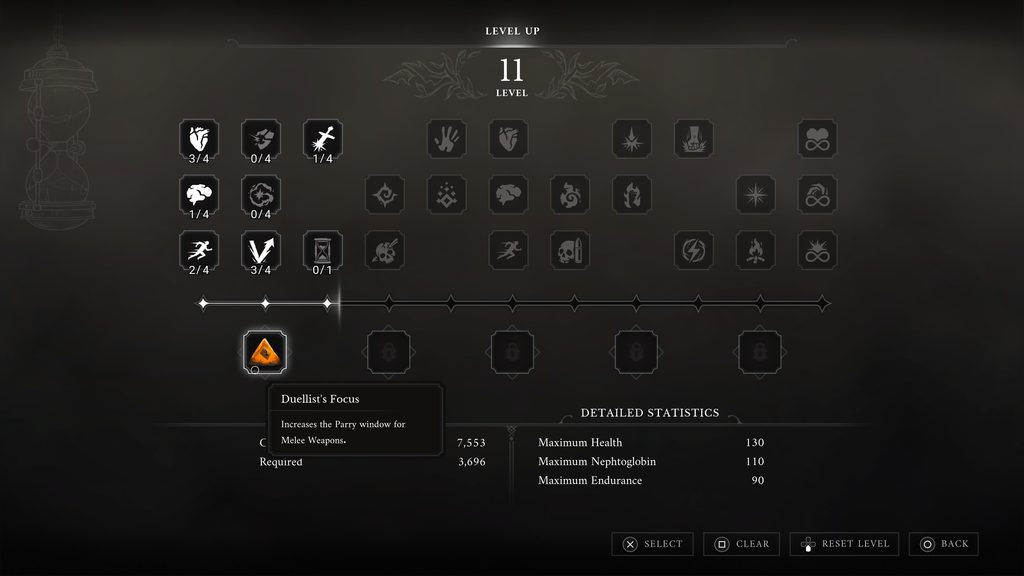
The Duellist’s Focus Amber is not only the best early-game Amber, but it is quite possibly one of the best in the entire game, as it significantly extends your parry window—a total game-changer against bosses and enemies alike. It can be found right at the beginning of the game; however, the path is blocked until you unlock the Pistol past the Demolished Path. Follow the main path back to the Demolished Path Lantern from ‘The Climb‘ Lantern, then backtrack all the way to the starting Lantern (‘Onslaught Arch‘) where you first acquired the Flames Transmutation.
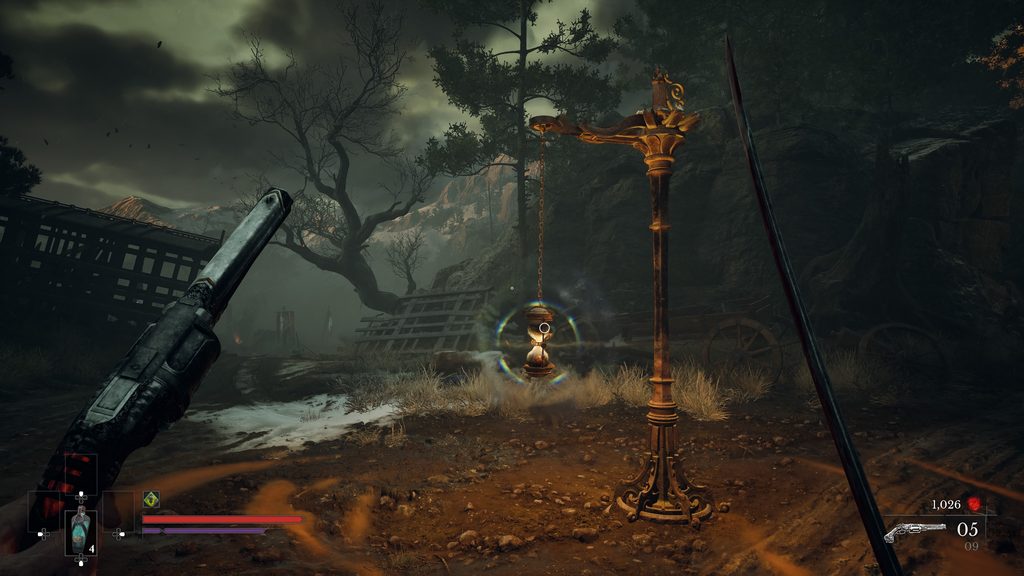
Turn around and traverse through the cliffs from the broken wooden platform until you reach the broken bridge and cross it. From there, head straight until you reach a branching path and spot the left-hand side path barricaded by a Nephtoglobin Node. Shoot the node with your Pistol to detonate the blockage and open the path.
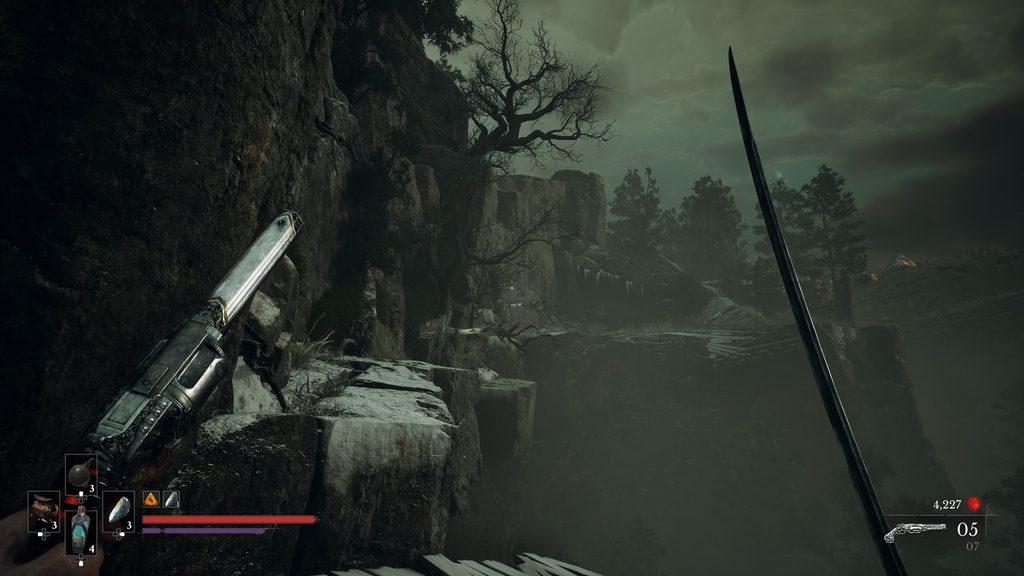
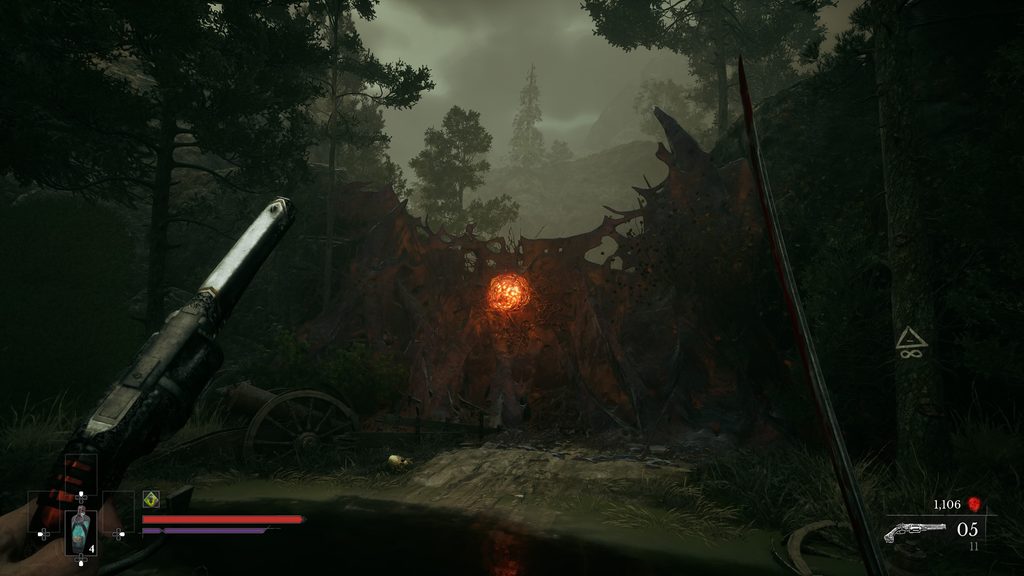
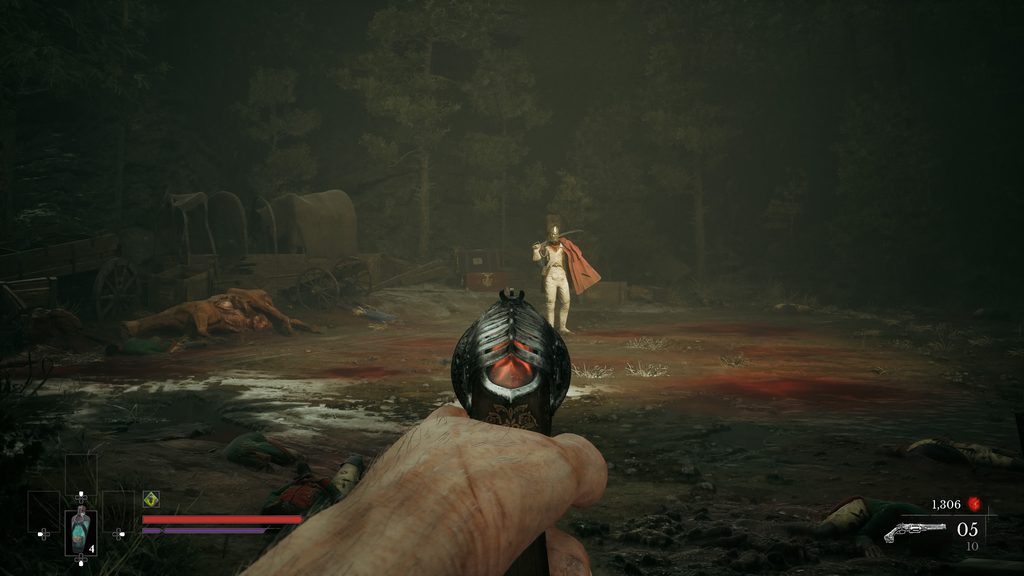
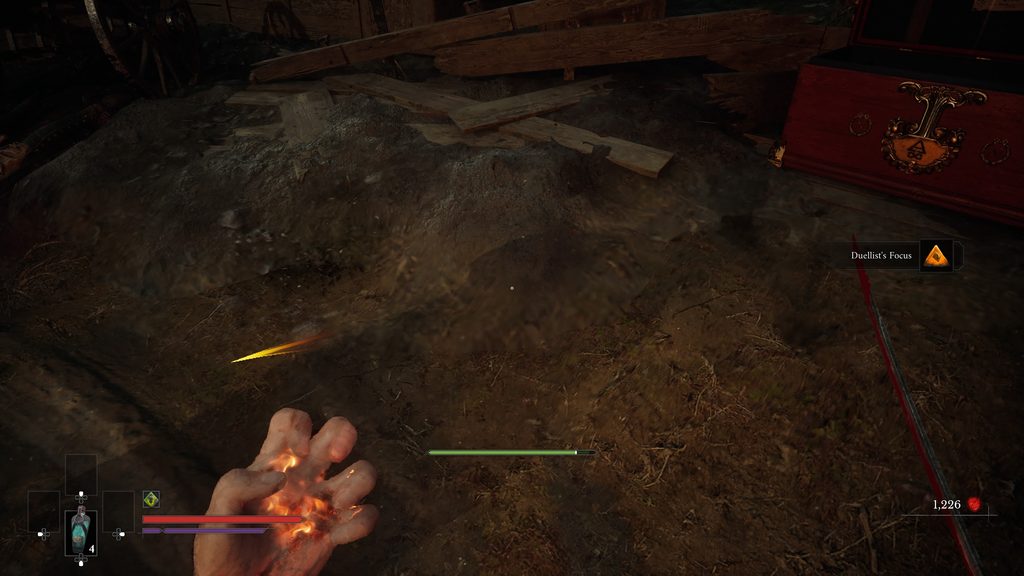
Clearing the path reveals an Eternal Guardsman guarding the area with a chest right behind him containing the Duellist’s Focus. Because they pose a severe challenge early on, there is no need to fight him, simply sprint past him, loot the Amber, and retreat. Once acquired, make sure to equip it via the Level Up Menu at any Lantern checkpoint.
Boss Prep: Level Scaling and Catalyst Farming.
You should be around Level 9 when you reach General Lothaire. Open your inventory and use all the Catalyst Clots you have picked up so far—these function as pocket catalysts. Consuming them should push you to Level 10 or 11. If you need to farm additional catalysts, I suggest clearing enemies along your return trip from the ‘Onslaught Arch‘ Lantern back to the boss arena. Since fast travel remains locked, make the most of this mandatory backtracking by utilising all unlocked shortcuts. Try not to lose your dropped catalysts. If you die a second time before recovering your dropped catalysts from your first death, they will be lost permanently. Below are the recommended stats to invest in:
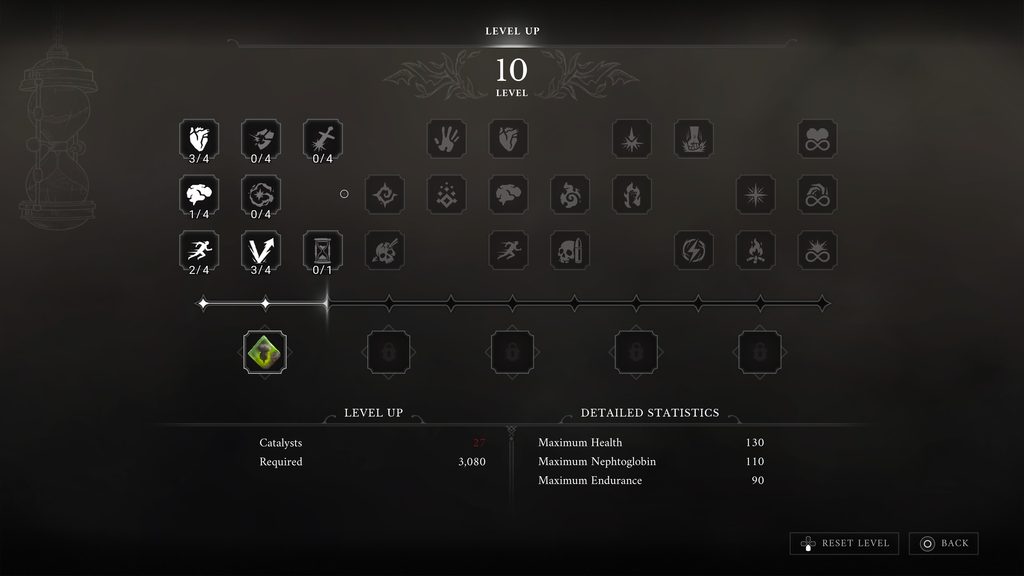
- Maximum Health
- Points: 3
- This is one of the most essential upgrades, as it directly increases your maximum vitality.
- Maximum Endurance
- Points: 2
- Increases your stamina pool, allowing you to land more consecutive strikes and block attacks for longer durations.
- Nephtoglobin Sufferance
- Points: 1
- Expands your magic bar which lets you use transmutations.
- Parrying Impact
- Points: 3
- Make sure to level this up at least 3 times. It increases the posture damage on parries, staggering large foes faster for critical hit window opening.
- Melee Damage
- Points: 1
- If you reach Level 11, allocate 1 point here to increase physical damage dealt with swords.
Boss Overview: Two-Phase Encounter
General Lothaire has two phases. While he alters some of his attack patterns in the second phase, he can easily be defeated with the right strategy and patience. Do not panic-heal the moment you take damage and wait for a clear opening. You might have also picked up some Whetstones and Hand Grenades; save those for the Second Phase, as they come in handy. NOTE: Unlike Ferrofluid flasks or ammunition, consumable items do not replenish automatically when you rest at a Lantern. The game permanently consumes them upon use, so be mindful of your inventory. If you run out of Hand Grenades, they can be farmed from Risen Grenadier enemies. The easiest farming method is starting from the Demolished Path Lantern: head back the way you came to locate a Risen Grenadier. Kill him, return to the Lantern to rest, and repeat the loop.
First Phase
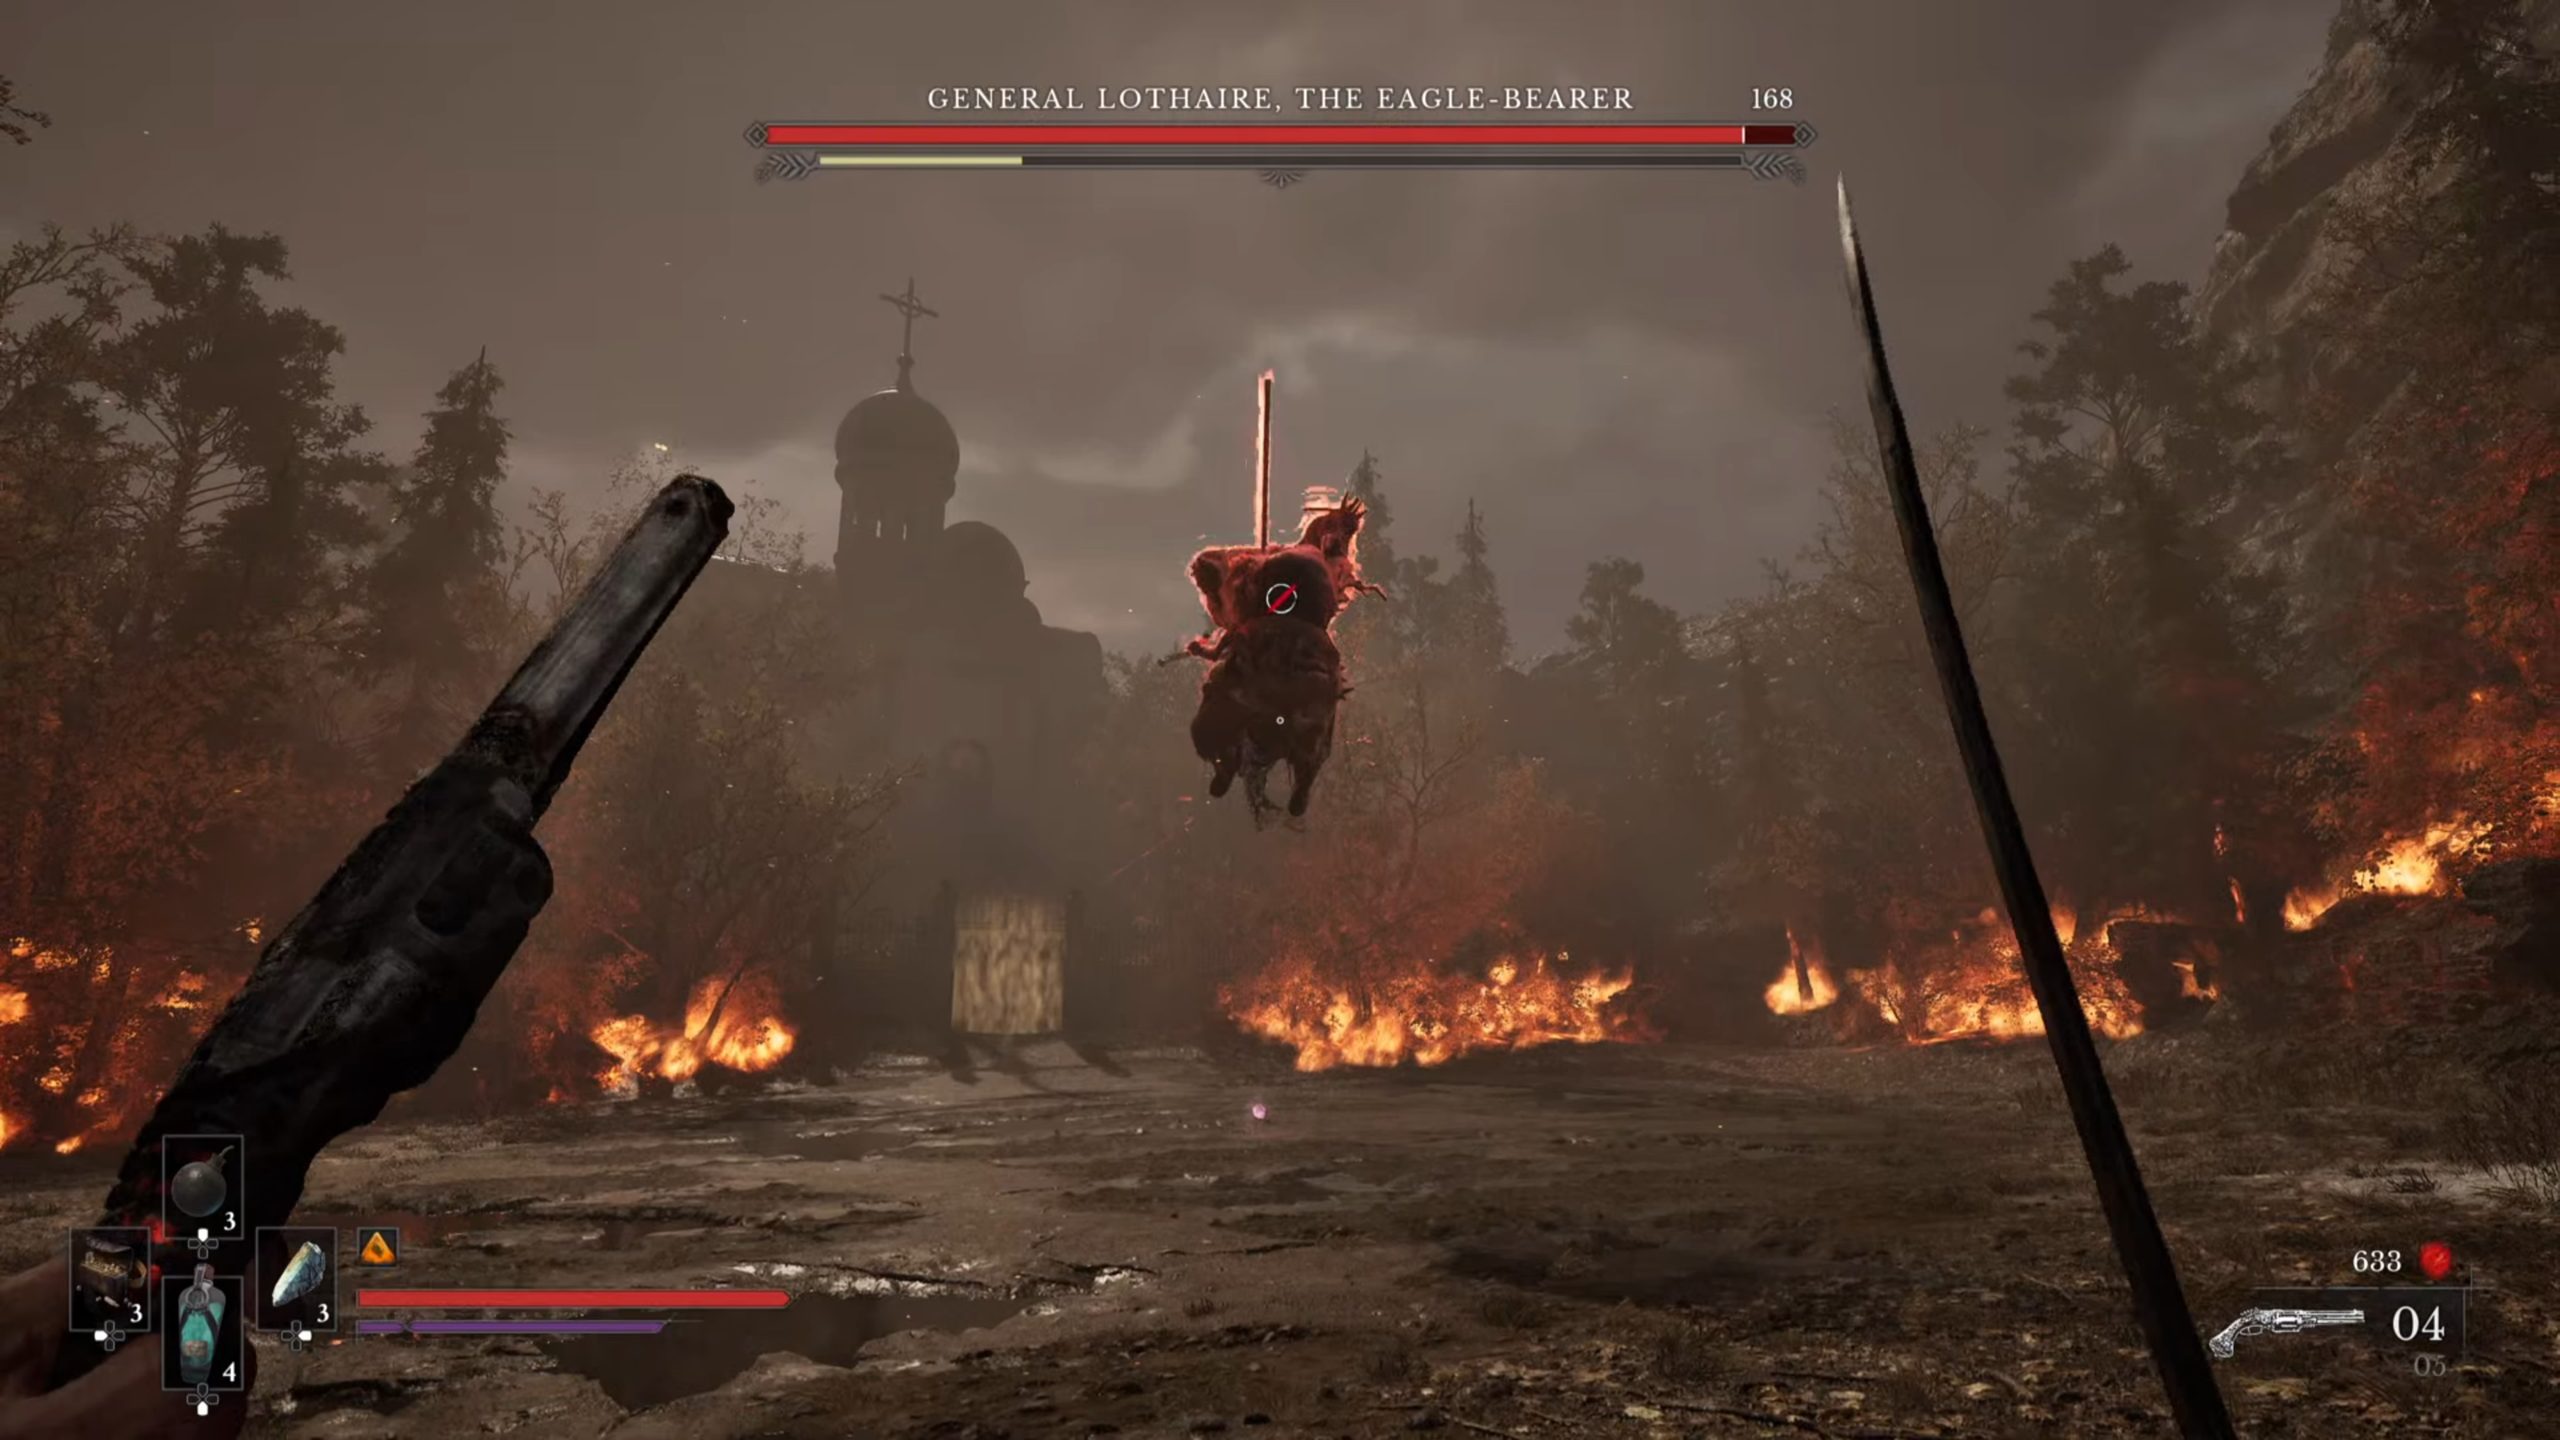
The fight almost always starts with a leaping attack. The Red flash indicates that this move cannot be blocked or parried—it must be dodged. It is quite easy to avoid: simply dodge to the left or right. Executing a perfect dodge triggers slow motion, granting you a window for a free counterattack. He also does a firing attack from the cannons on his shoulders that Glow Golden just before firing. These are also fairly easy to avoid by dodging to the left or right.
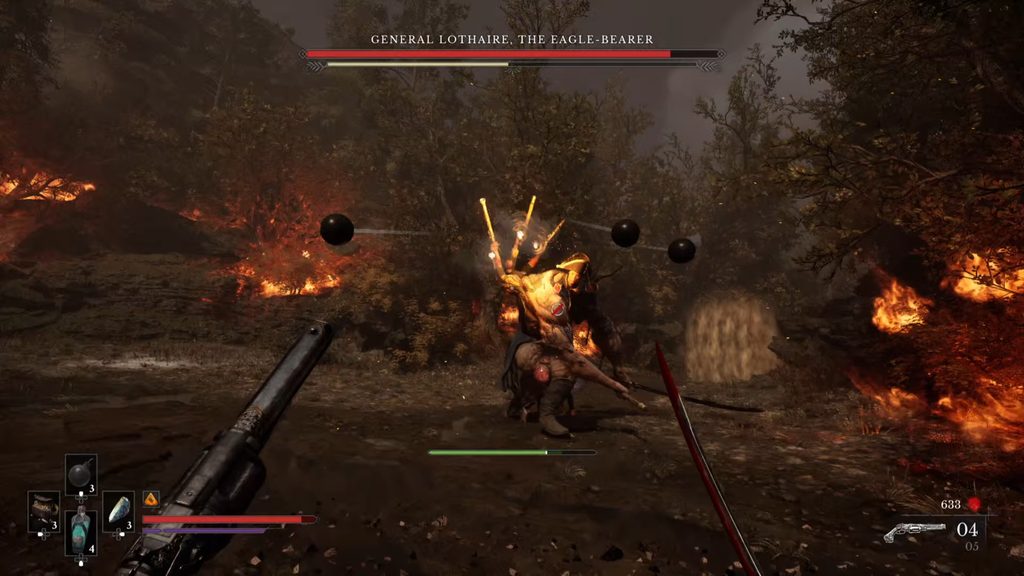
He cycles through 2-hit and 3-hit melee combos. Learn his attack patterns and parry timings; your primary goal is to stagger him to open up a Critical Strike for massive damage. This is where the Duellist’s Focus Amber shines, as it significantly widens your parry window. Whenever you get an opening, shoot the glowing Nephtoglobin tumors on his body which are his weak spots. However, maintain a safe distance from him as his attcks have long range and deal heavy damage to both health and posture. Do not worry about ammo, he periodically drops them during the fight. Once his posture is broken and you perform a critical strike, you will have a window to inflict burn states on him using the Flame Transmutation.
Second Phase
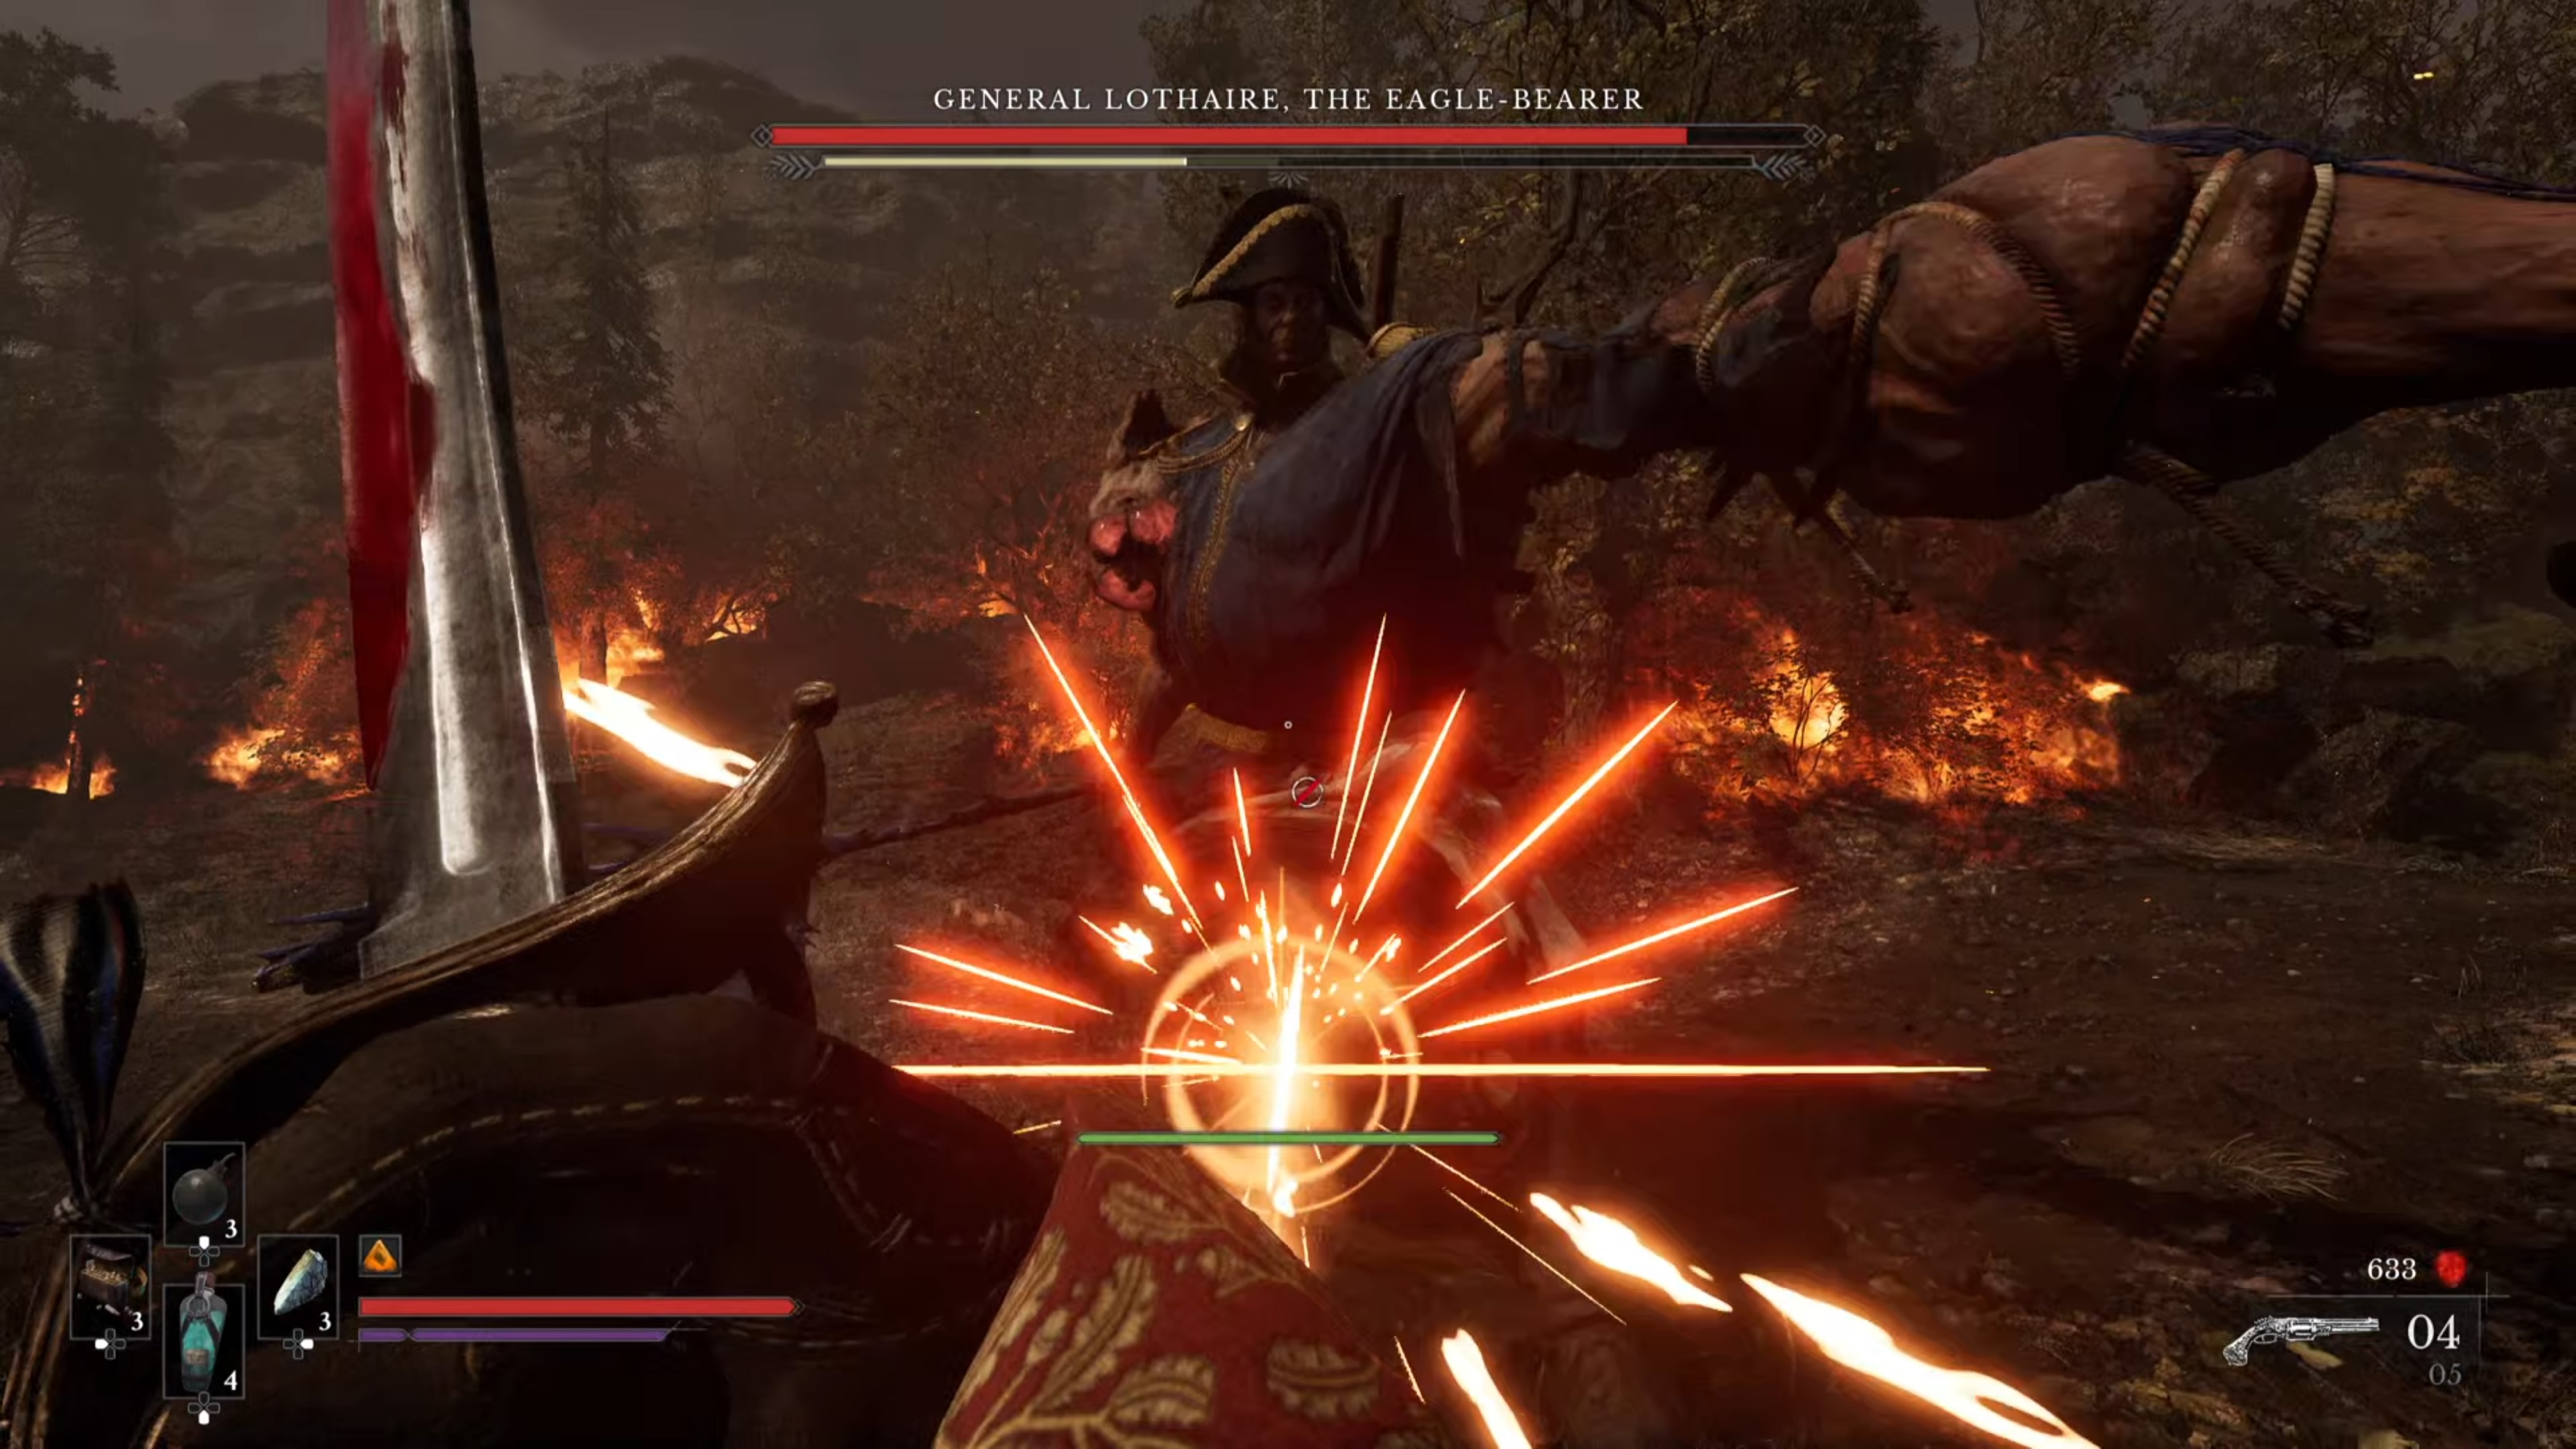
I recommend using the Whetstone now to buff your weapon with additional physical damage. During the second phase, he changes his attack patterns and summons additional enemies. These adds are easy to clear—simply shoot them or strike them with your saber, as they go down in a single hit. Watch out for his unblockable red-flashing attacks. He introduces a Sweeping unblockable move mixed into his standard parryable combos, so stay alert to avoid getting caught off guard. He also performs a heavy slamming unblockable attack that deals massive damage and can easily end your run—simply step back and dodge away. The rest of the strategy remains the same. Try to look for an attack you can parry to stagger him for a Critical Strike.
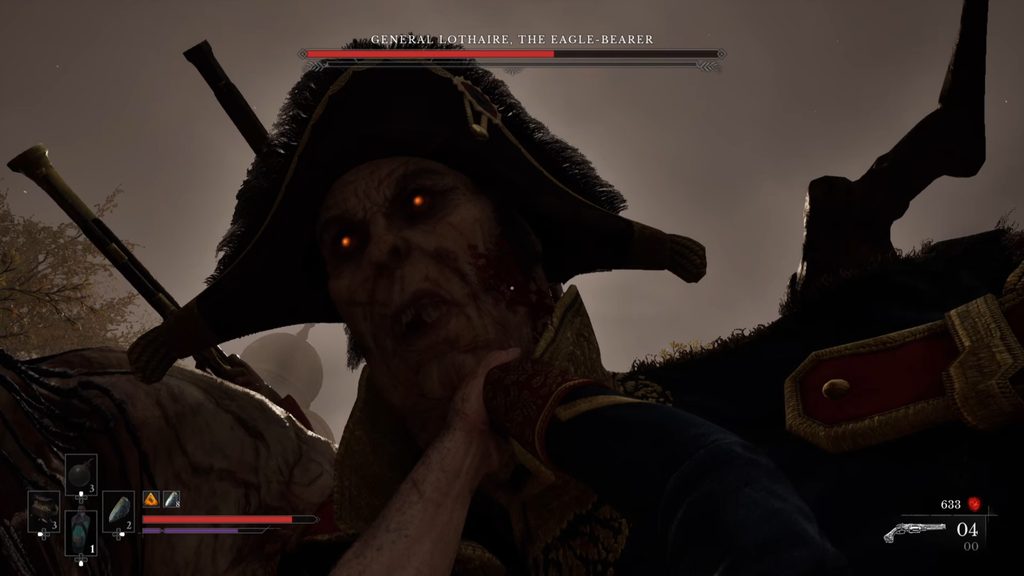
Once his health is below 25%, use the Hand Grenades. Two should finish him off, but since you can hold up to three in your inventory, throw the third if he’s still standing to finish the job.