



The Hellverine suit can be obtained from the Nightmare Doors Gauntlet Trials. Marvel’s Wolverine features a total of fifteen Nightmare doors, three of which are the Gauntlet Trials. You need all three to unlock the Hellverine suit. You need to find all three Nightmare Trial doors and earn the Adamantium rank in each to unlock the suit. This guide will break down the exact locations and strategies to reach the Adamantium rank in them. Once you enter a door during the main campaign, they become permanently accessible from the main menu, so there is no rush to complete it right away. The Hellverine suit is actually the highest-scoring reward, so when you go for it, you will naturally unlock another suit called Future Fugitive, five sets of claws, and 12 Ability Points.
Because of the nature of this guide and the locations of the doors, it contains spoilers. You have been warned.
First Door Location
- Region: Madripoor.
- Chapter: One Last Mission.
- Name: Last Stand at Cold Pines.
The first Gauntlet Nightmare door trial is located in Madripoor during the ‘One Last Mission’ chapter. Play the mission until Wolverine leaves Tyger’s Princess Bar, then track Jean’s scent trail until you reach the main street. Once the Purple roots appear just follow them directly to the door.



Second Door Location
- Region: Japan.
- Chapter: Sinister Tidings.
- Name: Crucible of Tears.
‘Crucible of Tears’ is the second Gauntlet Trial required for the suit. It is located in Japan during ‘Sinister Tidings,’ which you can find easily after Wolverine gets out of bed; a story cutscene triggers in the bathroom. Once controls returns to Wolverine, head back to the bedroom; you will be able to see the purple roots sprouting from the ground. The door will appear on the balcony to the right.


Final Door Location
- Region: Madripoor.
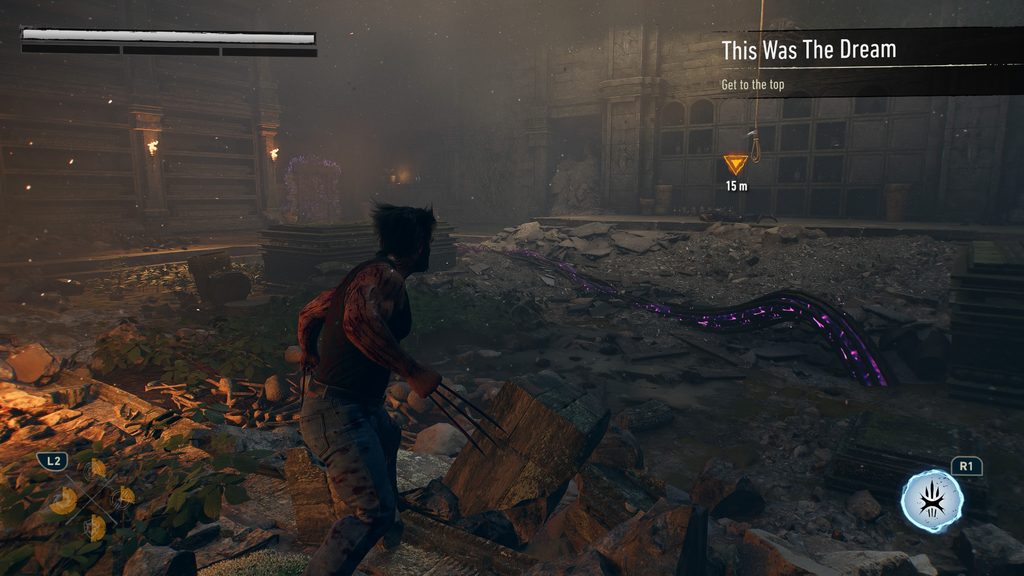
- Chapter: This Was The Dream.
- Name: Savage Showdown.
The third and last door can be found late-game in Madripoor during the ‘This Was The Dream’ chapter. You will encounter Reavers in the second stone building. After clearing the initial wave, the floor collapses, dropping you into the second encounter with the Cloaking Reavers. Once the fight is over, the roots will appear. The roots are hard to miss. Hold off on interacting with the Zipline for now; enter the door to unlock it, or you’ll trigger a cutscene and lock yourself out, forcing a chapter replay to this point.

How to achieve Adamantium Rank: Tips & Strategies
Before we get into the strategies on how to complete the trials, here is some necessary information: each door has an enemy wave count and a score threshold that you must reach to earn the Adamantium rank.
- Adamantium Score: 40,000 Points
- Total Waves: 25
All three trials share identical requirements. You do not have to complete all 25 waves; simply hit the 40,000-point threshold. With good combat and kill multipliers with time bonuses, you should be able to reach the required score around wave 23. Keep in mind dying will reset your progress back to wave 1 since the trials feature no checkpoints.
Trial Idols – Effects
At the start of each trial, you will see two Idols, but you can only select one. Destroying them will activate an effect. A variety of effects are present in these trials. Each effect will grant a perk but they come with a penalty as well. These repeat every 5 waves. You will have 15 seconds to choose one. They are completely optional i.e. you can skip them entirely, however, I highly recommend picking them. Once an effect is active it will last for the whole trial so it is essential to pick the most advantageous one. Below are some of the best effects:
- Companionable – Ally Jean, but Rage gain is greatly reduced. This is one of the best effects; Jean helps a lot and would even kill enemies for you, buying you some time to catch a short break and heal as well. Wreckless – Double Rage gain, but Last Stand does not restore full health. While Last Stand does not restore full health, gaining x2 Rage means you can be very aggressive and kill enemies, especially when running a Rage build.
- Wreckless – Double Rage gain, but Last Stand does not restore full health. While Last Stand does not restore full health, gaining x2 Rage means you can be very aggressive and kill enemies, especially when running a Rage build.
- Calculating – Kill enemies on Parry, but damage taken is increased. A very powerful effect: parrying one-shots all enemies when the big Claw brutes totally makes increased damage taken worth it. Getting the parry timing down is not too hard in the game.
- Primal – Faster Healing Factor, but player damage is reduced. A faster healing factor will always come in handy; losing a bit of damage is no big deal. The trial is about survival.
- Incendiary – Gain Hot Claws at the start of each wave. Expires after 3 waves—the only effect with no penalty and which can be picked more than once.
Techniques, Special Moves and Adaptations
This part will cover which Techniques and Adaptations you should be using for the best possible outcome. Note: I will be listing all the adaptations and techniques present in the game, not all of which will be available from the start of the game so you should pick the ones available to you at the time. By the time you reach the final Gauntlet Trial, however, you should have most if not all of them unlocked.
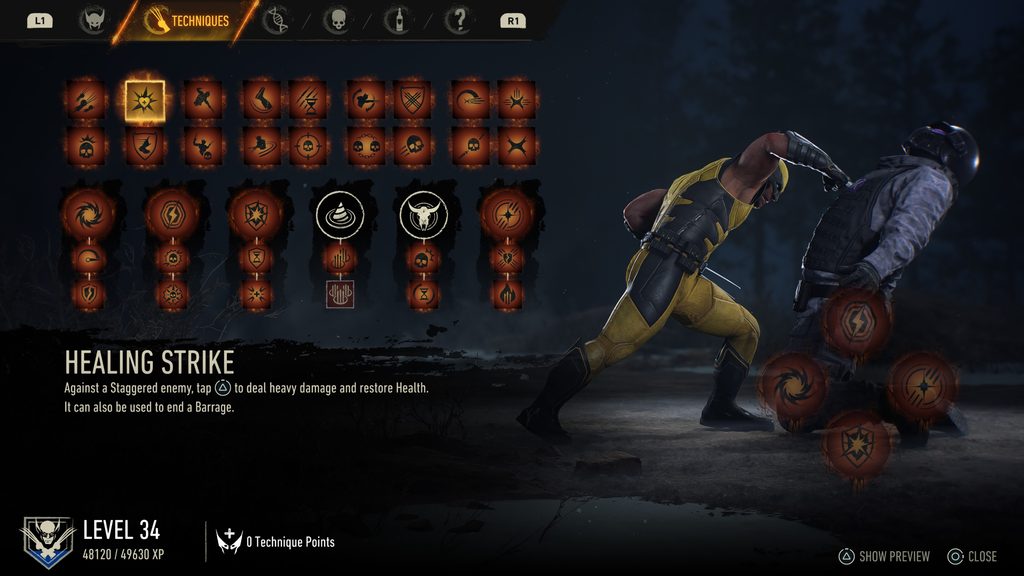
Recommended Techniques:
- Healing Strike – Against a staggered enemy, tap triangle to deal heavy damage and restore health. One of the earliest and most useful techniques, as not only does it deal massive damage but also heals you.
- Stagger Leap – Hold triangle to charge up a lunge attack that deals great stagger damage. It’s best paired with Healing Strike, as it will help you heal in the trial.
- Unblockable Ender – A stronger attack replaces Combo Ender. This is handy because it breaks the blocks and deals increased damage.
- Advance Parry – Just before a melee attack lands, tap L1 to simultaneously deflect other incoming attacks. It is very effective against multiple enemies’ attacks.
- Lethal Disarm – When a ranged enemy performs some melee attacks, tap L1 to destroy their weapons and execute them. As the description says, ranged enemies’ melee attacks are now converted to Reckless Attacks, and parrying those will kill them immediately.
- Helix Combo – Immediately after a Helix Claws attack, tap R1 again to perform a second devastating strike. Unlock this skill right after you get Helix Claws; not only does the second strike interrupt higher-level enemies, but it is also good for getting out of crowded situations.
- Helix Counter-Shot – Just before a ranged attack hits, tap circle to release a blast of energy that strikes the attacker. This is good because there can be a lot of gunners in the trials, and this attack knocks them back and also puts distance between you.
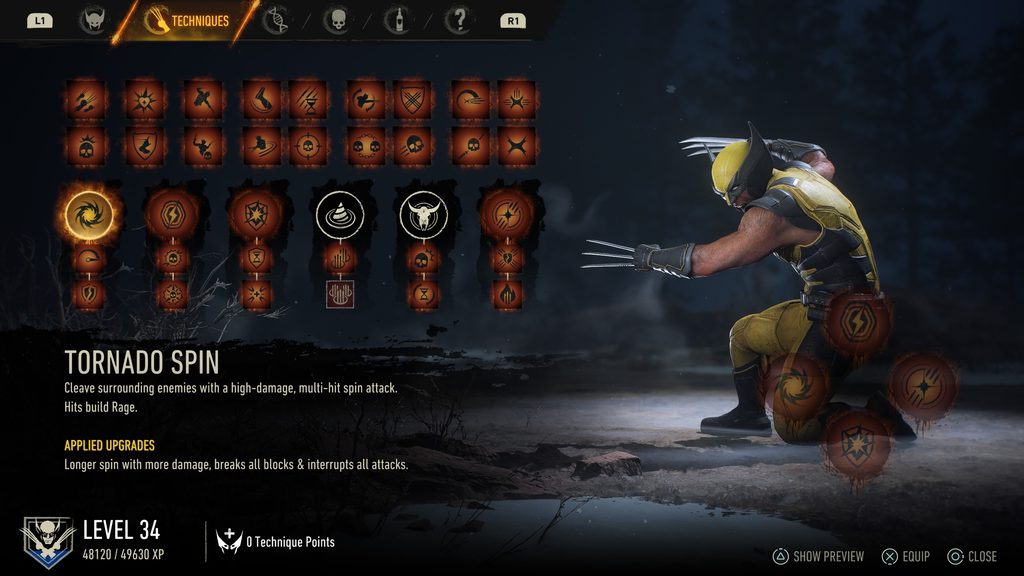
The Special Techniques I used across all three trials:
- Tornado Spin (Max Level for Final Trial) – Cleave surrounding enemies with a high-damage, multi-hit spin attack that builds Rage; best for interrupting attacks and damaging multiple enemies. Max level breaks all blocks.
- Knee Breaker (Max Level for Final Trial) – Bash an enemy in the head to Stagger enemies over an area, interrupting all attacks. This was my most used move; not only does Stagger the target and the surrounding enemies, but you can use the Healing Strike technique to recover health, and it works on all enemies, normal and advanced.
- Relentless (Max Level for Final Trial) – Recover Health faster for an extended duration, shrug off basic attacks, and activates automatically when near death. This is a must-have special technique, especially for the Final Gauntlet trial.
- Brutal Assault (Max Level for Final Trial) – Dash to a target and deliver a vicious hot Claws combo that breaks through all enemy defenses and builds rage. Excellent for dealing serious damage to enemies like Fist and the MK2 Sentinels, which can be really tough to deal with, and it builds rage.
Finally, Adaptations are passive skills that Wolverine can equip. You can select up to 10 Adaptations after collecting 68 AP. The final Gauntlet Trial, ‘Savage Showdown ’, is naturally the most challenging of them all. Therefore, I recommend unlocking all 10 Adaptation slots before going for it. Below are the recommended 10 Adaptations for the final trial:
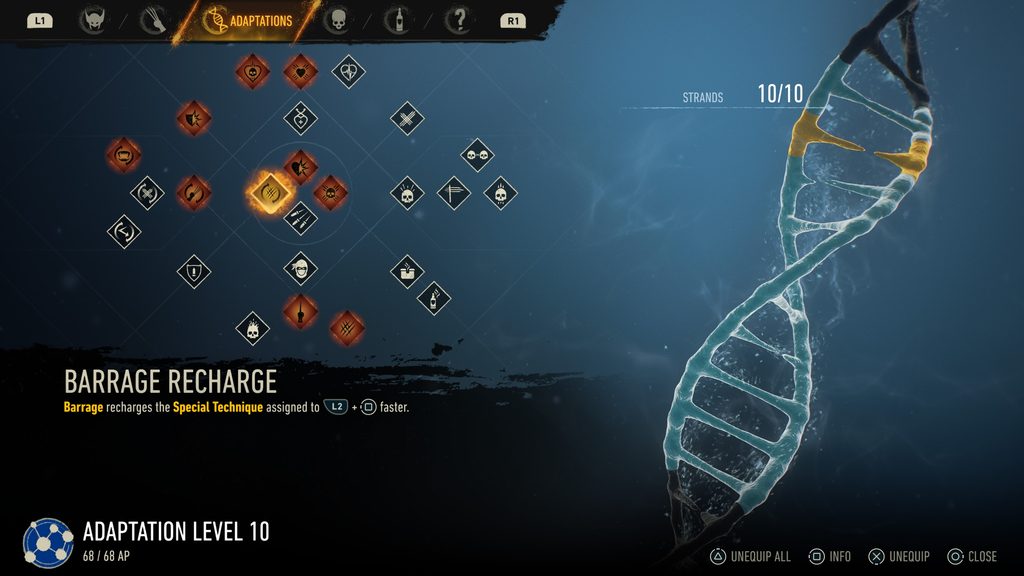
- Barrage Recharge – Barrage (Tap Square on a staggered enemy) recharges the Special Technique assigned to L2+Square. I recommend assigning Tornado Spin to it; each time you use Barrage, you will recharge Tornado Spin, which can be used to clear out enemies and build Rage.
- Combo Ender Recharge – Combo Enders recharge the Special Technique assigned to L2+Triangle faster. Assign Knee Breaker to this slot; as already established, this is a very essential move, so you want it recharging faster.
- Bullet Sponge – Ranged attacks deal less damage to you. Basically a defense perk against ranged attacks.
- Tough Skinned – Melee attacks deal less damage to you. Just like Bullet Sponge, this provides additional defense against melee attacks.
- Healing Dodge – Dodging an enemy attack restores health. Super useful, as you will be dodging the unblockable red flashing attacks in advance waves.
- Healing Parry – Parrying an enemy attack restores health. This, paired with the Healing Strike technique, really helped me a lot in the final trial; it gets crowded really quick, so it’s best to always have more healing options.
- Expanded Cut – Critical Strike can be performed against enemies with higher remaining Health. Critical Strike (L2 + R2) which can be performed on enemies in Rage Tier 3 which one shots enemies. This opens up more opportunities to take enemies out quickly.
- Healing Crit – Critical Strike restores Health. Thanks to Expanded Cute, you will be able to perform more Critical Strikes, so this pairs up with it nicely.
- Rage Longer – Rage Tier 3 has reduced Rage decay. Essential adaptation since it lets you be in Rage Tier 3 longer, and if you’re playing very aggressively, you can stay in Rage Tier 3 for multiple Waves. Paired with Expanded Cut, it becomes one of the best adaptations to have.
- Enraged Recharge – In Rage Tier 2, the passive recharge of all Special Techniques is faster. In Rage Tier 3, the recharge rate is increased further.
Finally, make sure you have crafted all 10 suits for the 200% health upgrade. It is highly recommended not to attempt the ‘Savage Showdown’ Gauntlet trial without max health. The following tips will help you tackle these trials efficiently:
- Make sure to always pick the Companionable effect when it is available, either at the start of the trial or between every 5th wave.
- Do not hesitate to use L2+Square (Tornado Spin) and L2+Triangle (Knee Breaker) special techniques as they will get you out of crowded situations and help build rage in the process. Knee Breaker also Staggers enemies, allowing you to further build Rage and heal by first using the Barrage attack (tap Square), then using Healing Strike (Tap Triangle) before letting the Barrage end.
- Use Helix Claws as often as possible, as they recharge quickly, deal heavy damage, and knock back all surrounding enemies
- When fighting the Reaver Brute enemy, look out for its Reckless Attack (yellow flashing attack). Not only does it deplete your entire Rage Tiers, but it also prevents Wolverine from healing. This is a very big nuisance, especially in the final trial where they spawn with MK2 Sentinels. Make sure to either parry their Reckless attack or get out of the way before they grapple you.
- Use the Knee Breaker on enemies like The Chosen, Reaver Brute, and MK2 Sentinel. It staggers them, which allows Wolverine to mount them and dish out good damage. Just make sure not to hit them too many times with light attacks; always try to end the sequence with a Healing Strike.
- When in Rage Tier 3, do leap attacks to close the gap quickly and try to kill as many enemies with Critical Strike (L2 + R2) as possible; it will one-shot them and build extra rage. When paired with Rage Longer adaptation, you can essentially stay in Rage Tier 3 until the end of each 5th Wave. During the 15-second Idol selection window, enemies stop spawning, though your Rage Tier will automatically decay to Tier 2.
Upon achieving Adamantium rank across all three Gauntlet Trials, you will unlock the Hellverine suit & Claws, Future Fugitive Suit & Claws, Flat-Edged Claws, Gold Claws, Diamond Claws and 12 AP. There is no need to craft them; they unlock automatically upon completion.